arduino sketch for cat-signal at layerze.ro
- C++ 100%
| cat_signal_arduino_sketch | ||
| cat-signal.jpg | ||
| cat-signal.png | ||
| ReadMe.md | ||
| router-dns.png | ||
| upload.jpg | ||
cat-signal 🐱☎️
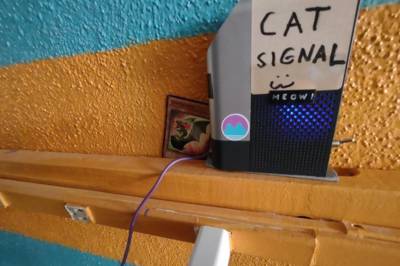

The cat-signal runs on an ESP8266 microcontroller that has Wifi and support for HTTP built in.
The cat-signal will contact a service called layerzero-status hosted on beet.layerze.ro. layerzero-status is the one who posts to matrix.
cat-signal build & deploy
NOTE: As far as I know, cat-signal has always been programmed by the arduino IDE running on the raspberry pi that is installed inside Polly Bass. However if you are brave, you should be able to program it from any computer.
Steps to upload the arduino sketch to the microcontroller:
See: how-to-install-esp8266-board-arduino-ide
- install the arduino IDE
- open the 'cat_signal_arduino_sketch' project
- plug in the microcontroller to your computer via USB
- In your Arduino IDE, go to File > Preferences
- Enter
http://arduino.esp8266.com/stable/package_esp8266com_index.jsoninto the “Additional Boards Manager URLs” field- Note: if you already have the ESP32 boards URL, you can separate the URLs with a comma.
- Open the Boards Manager. Go to Tools > Board > Boards Manager...
- Search for ESP8266 and press install button for the “ESP8266 by ESP8266 Community“:
- Go to Tools > Board > ESP8266 Boards > Generic ESP8266 Module to select the correct board profile.
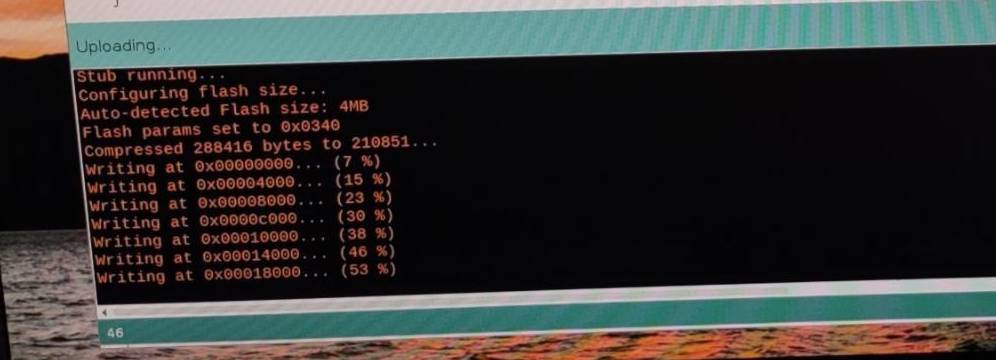
- Click the upload button, you should see something like this: